
The complete guide
Rope Ratchet Hangers Buyer's Guide: Getting Height Right In A Grow Tent
The problem nobody warns you about
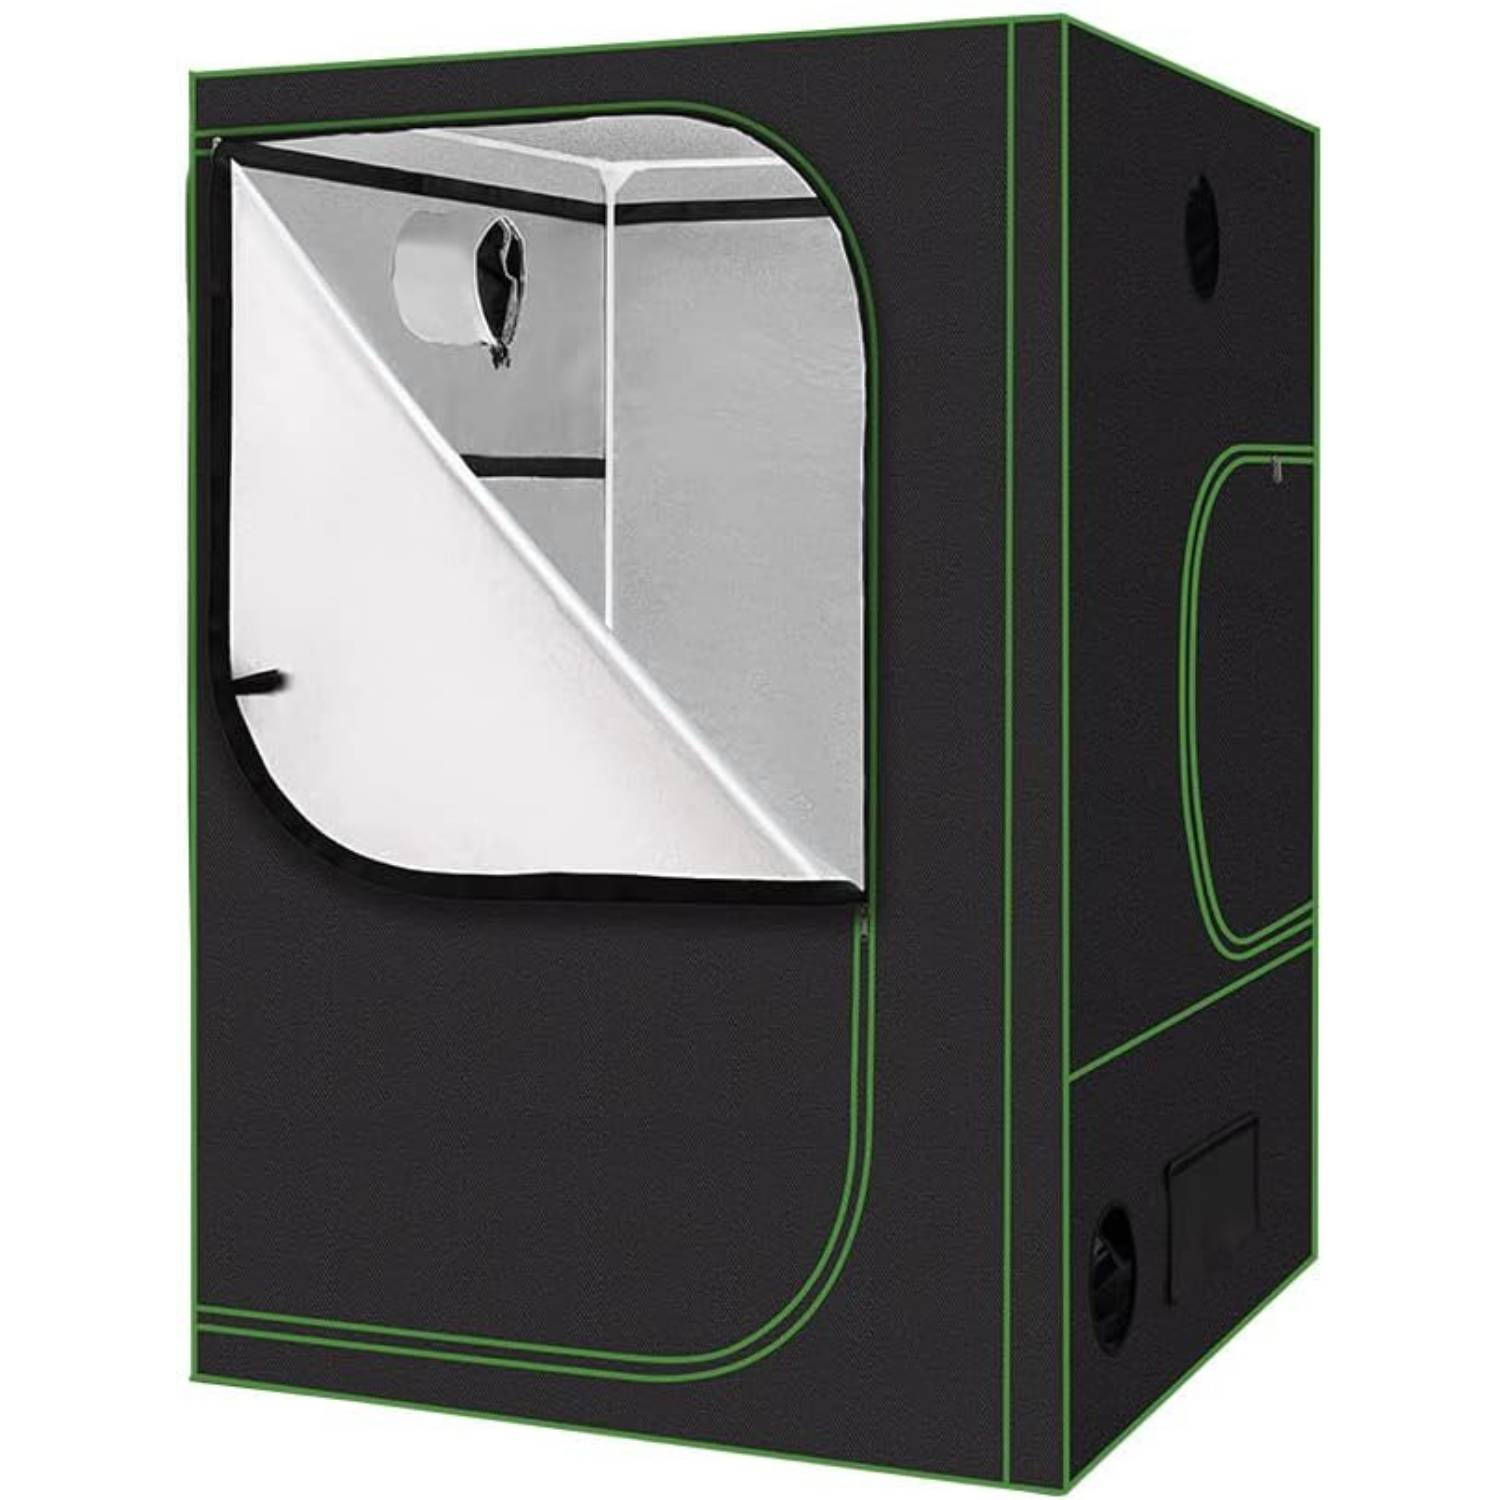
You buy the tent. You buy the light. You buy the fan and the filter. Then you stand in front of the whole thing holding a carbon filter in both arms, realising you have no sensible way to hold it in the air at the right height.
Zip ties work until you need to change something. String works until the knot slips. S-hooks work if your equipment happens to sit exactly where the hook puts it, which it never does. Meanwhile your plants are growing, which means the correct light height today is the wrong light height in nine days.
Rope ratchet hangers exist for that reason. They let height be an adjustment instead of a decision. Clip, pull, done. Change your mind next week and pull again.
How a rope ratchet hanger actually works
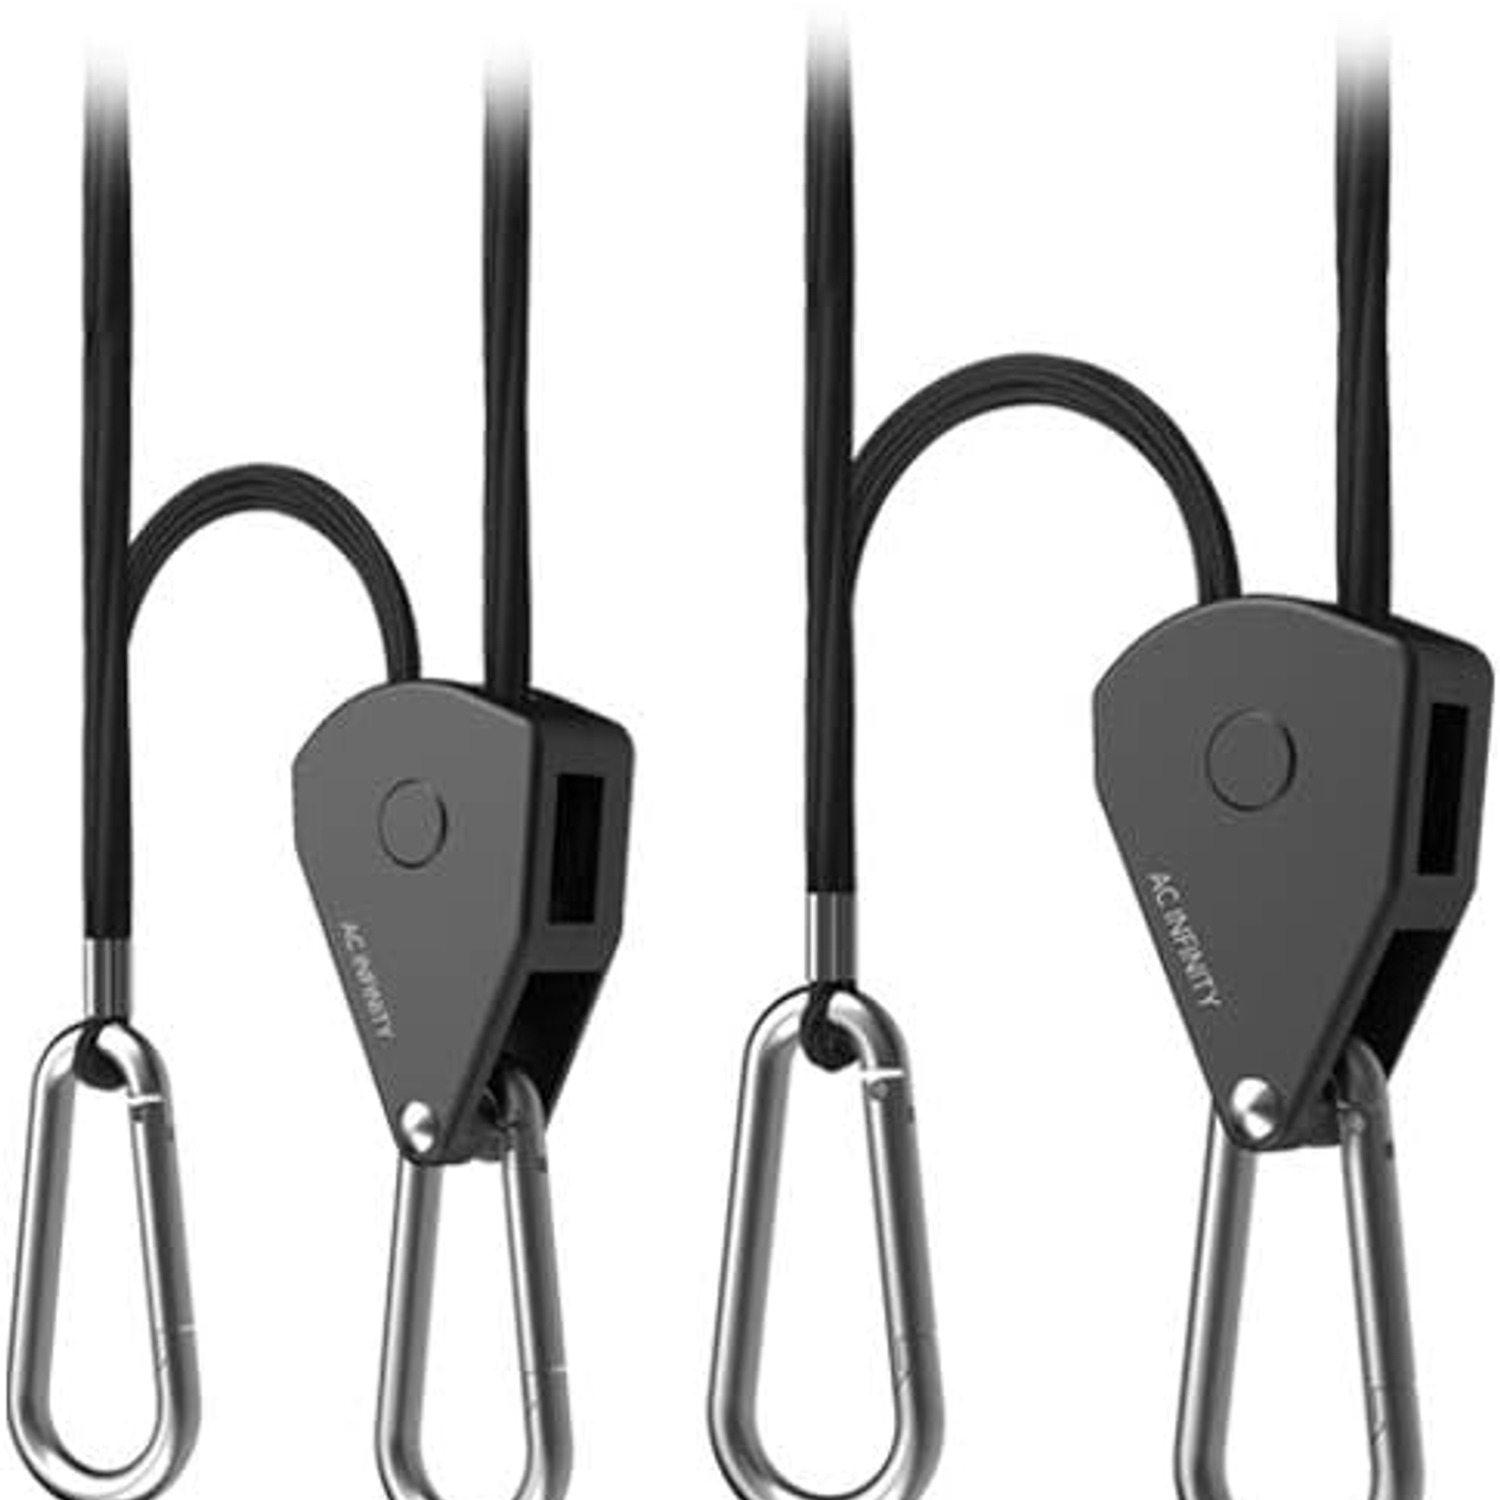
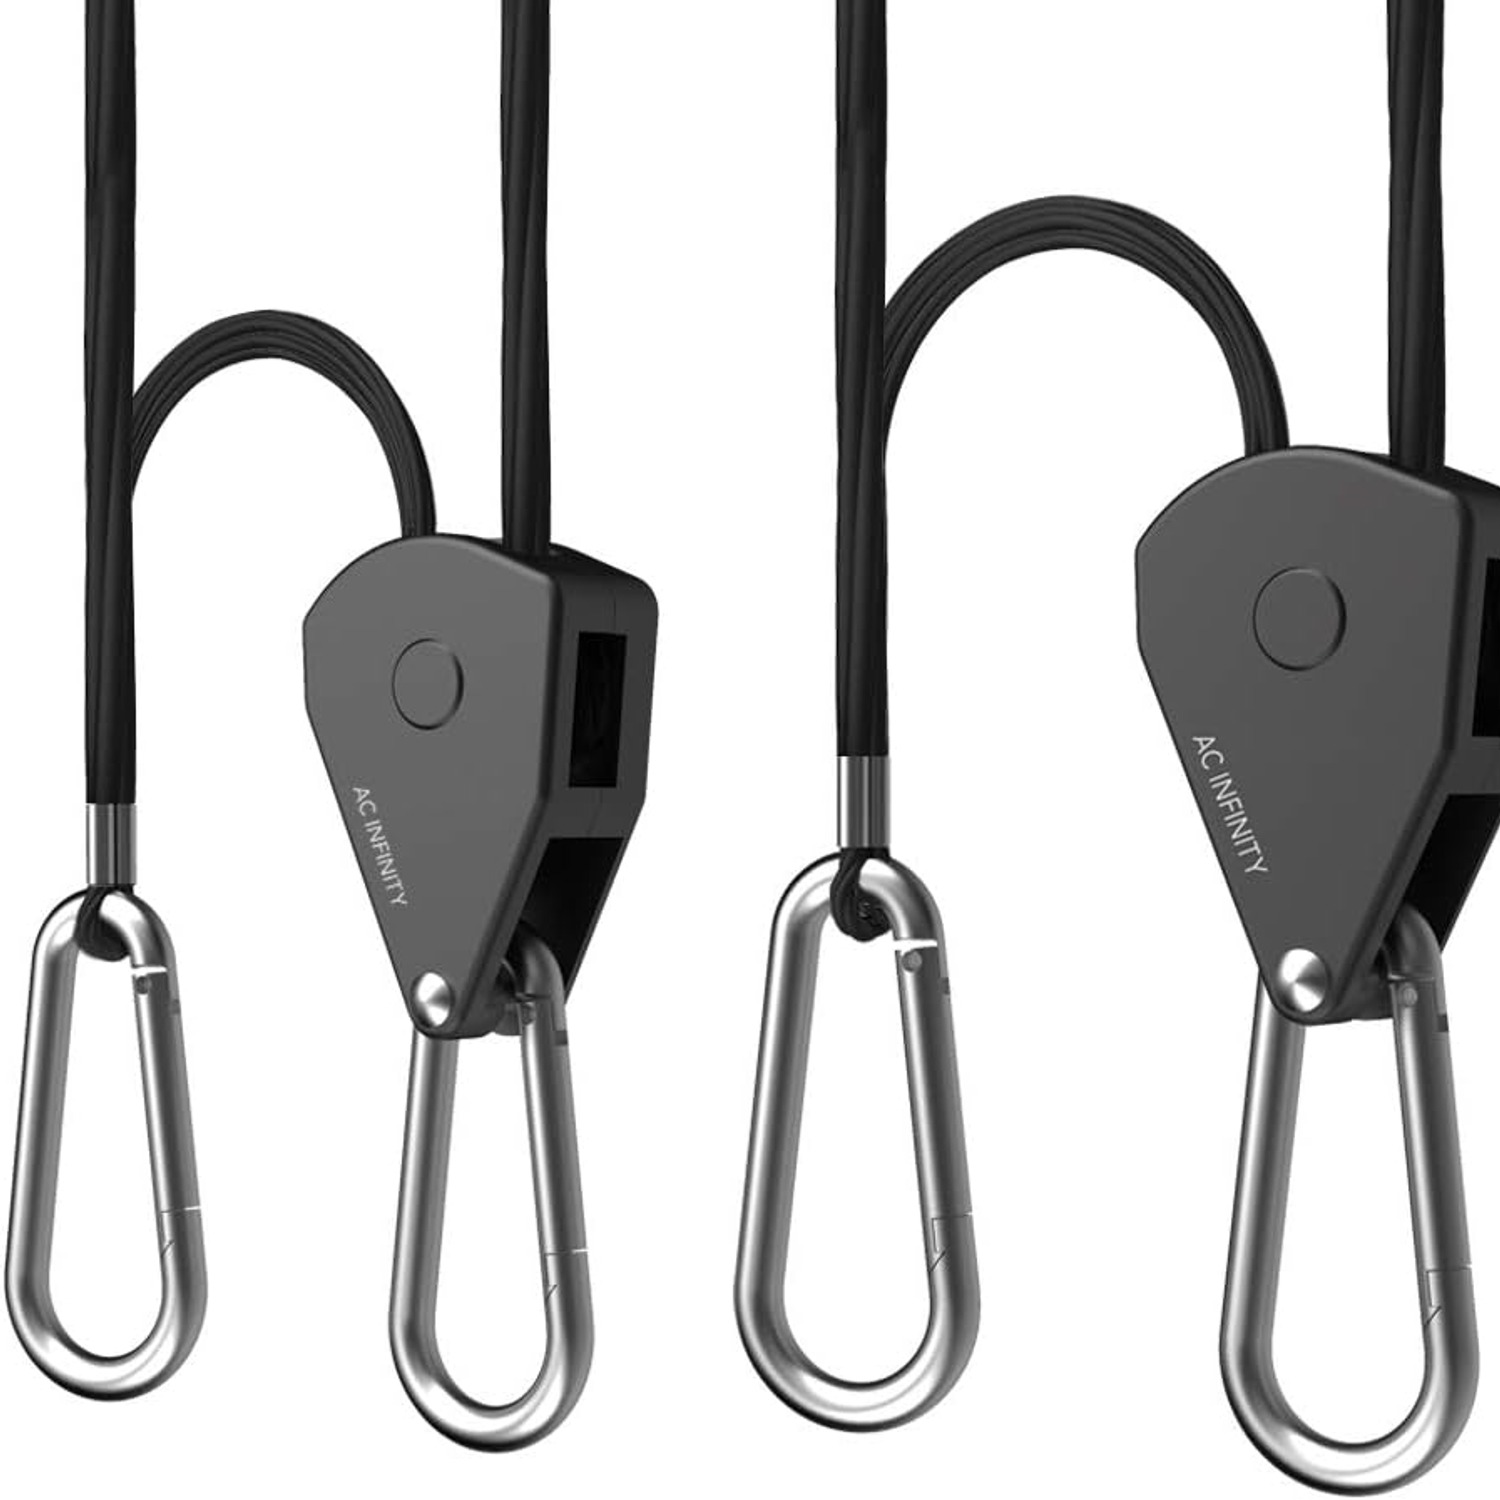
The design is old and borrowed from cargo strapping, which is a good sign. Each hanger is a length of rope running through a small housing with gears inside. Pull the rope one way and the gears let it pass, then bite down and hold when you stop. Squeeze the release and the gears open, letting the rope feed back the other way.
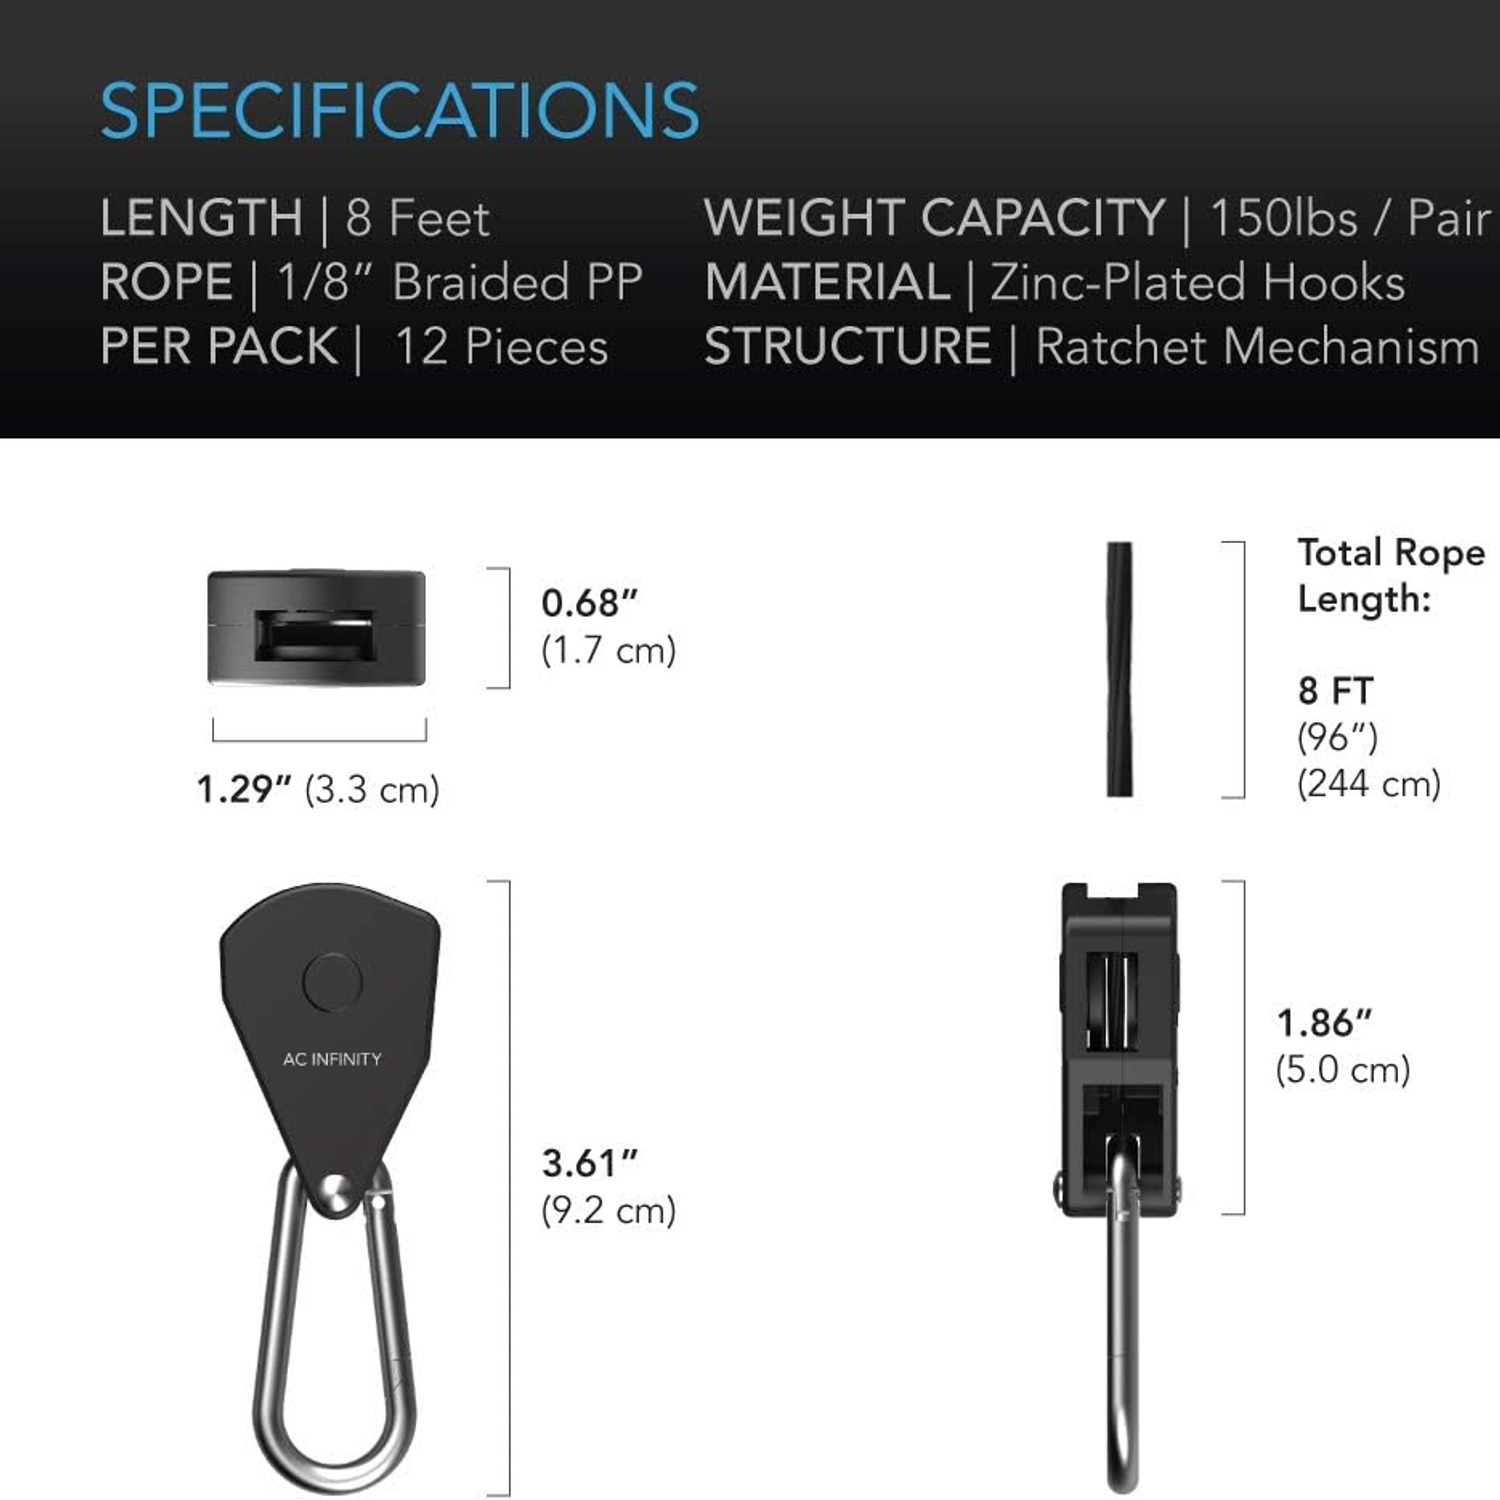
In this pack the rope is 1/8 inch braided polypropylene, 8 ft long, which is about 2.4 m. The gears inside the ratchet are stainless steel. Each end of the rope finishes in a zinc-plated steel carabiner hook.
Braided rope matters more than people expect. Twisted rope tends to corkscrew under load and can bunch up at the gear teeth. Braided rope stays round and flat and runs through the housing cleanly, which is what you want when you are reaching over a canopy with one arm.
The carabiners matter too. A hook with an open mouth can jump off a bar during adjustment. A carabiner closes behind itself, so once it is on, it stays on until you deliberately open it.
What the 150 lb rating really means
The rated capacity is 150 lb per pair, roughly 68 kg. Read that phrase carefully, because it is the single most misunderstood number in the whole category.
Per pair means two hangers working together, one at each end of the load. It is not the rating for one hanger. When you plan a hang, assume the pair is the unit.
In practice, 68 kg is generous for home growing. A mid-sized LED bar fixture is a few kilos. A home inline fan might be two to five kilos. A carbon filter is the heavy one, and even a decent-sized filter in a home tent usually sits well under half the pair rating. The margin is there so that bumps, knocks and the small shock load of a filter swinging slightly do not take you anywhere near the limit.
What you do need to check is the anchor. The hanger is only as strong as the thing it hangs from. Tent crossbars have their own weight ratings from the tent maker, and those are often the real limit in a soft-sided tent. If you are mounting to a ceiling joist or a shed rafter, make sure the fixing is into solid timber and not just plasterboard.
Who these suit
If you grow herbs, salad leaves or vegetables indoors under lights, these are worth having from day one. Fast-growing leafy crops are exactly the plants that force you to change light height every few days, and a hanger that makes the change trivial is a hanger you will actually use.
They suit anyone with more than one piece of overhead gear. A light, a fan and a filter is three separate height problems, and each one wants to be independent of the others.
They suit people who rearrange. If you are the kind of grower who tries a different fan position, swaps a light, or moves the filter to the other corner once a season, a clip-on system beats anything permanent.
They are less essential if you have a single small fixture in a fixed spot that genuinely never moves, and if you have already got it exactly where you want it. Even then, one pair in a drawer is cheap insurance.
Working out how many pairs you need
Count your hanging items, then add a couple. That is the honest answer.
A standard home setup usually comes out at three pairs. One for the light, one for the inline fan, one for the carbon filter. This pack gives you six pairs, twelve hangers, so there are three pairs spare.
Those spares get used faster than you think. A second light bar for a wider tent. A clip-on oscillating fan that you would rather suspend than clamp. A hanging pot for something trailing. Or simply a second tent, because almost nobody stops at one.
If you only need three pairs today, buying six is not waste. It is next season already covered.
Hanging gear without making a mess of it
Start with the heaviest item, usually the filter, and get it in first while you still have room to move. Clip one hanger near each end of the item, not both at the middle, so the weight is shared and the item hangs level.
Leave the ropes a little long at first. Hang everything roughly, then do a second pass to fine-tune heights. Trying to get every item perfect on the first attempt means you will redo it anyway once the ducting is connected.
Adjust one side at a time. Pull the left hanger a few clicks, then the right, then the left again. Trying to lift both ends at once is how you end up with a crooked light bar and a sore back.
Watch the tails. Loose rope hanging into the canopy is a nuisance and can shade leaves. Gather the slack and tuck it over the tent bar, or loop it loosely back on itself. Do not cut it unless you are certain the gear is staying at that height permanently.
Finally, test every hang. Once the load is up, give it a gentle downward tug and watch the ratchet. It should not creep. Do that test every time you rehang something, not just the first time.
Looking after them
There is very little to do, which is the point. Keep the ratchet housing free of grit, because soil in the gear teeth is the main thing that makes a smooth hanger feel notchy. A dry cloth over the rope and hooks every few weeks is plenty.
Dry them after watering splashes. Polypropylene handles damp far better than natural fibre rope, but leaving hardware wet in a warm tent is a habit worth avoiding anyway.
Inspect before each new build. Run the rope through your fingers and look for fraying, flat spots or nicks. Check the carabiner gates still spring closed properly. If a hanger looks tired, swap in one of your spares rather than hoping.
For storage, coil loosely. Knots left in rope for months set creases, and creases are where the braid starts to wear.
A few common mistakes
Hanging a long filter from a single hanger in the middle. It will tilt, the ducting will kink and the load is concentrated in one spot. Use a pair.
Clipping into the tent fabric or a corner seam instead of the steel bar. The bar is the structural part.
Forgetting that wet soil is heavy. A hanging pot that weighs two kilos dry can double after a good water.
Assuming the per pair rating applies to each hanger. It does not. Halve it in your head if you ever hang something on a single hanger.
Running the rope hard against a sharp metal edge. If the only route puts the rope over a corner, pad it or reposition the clip.
The short version
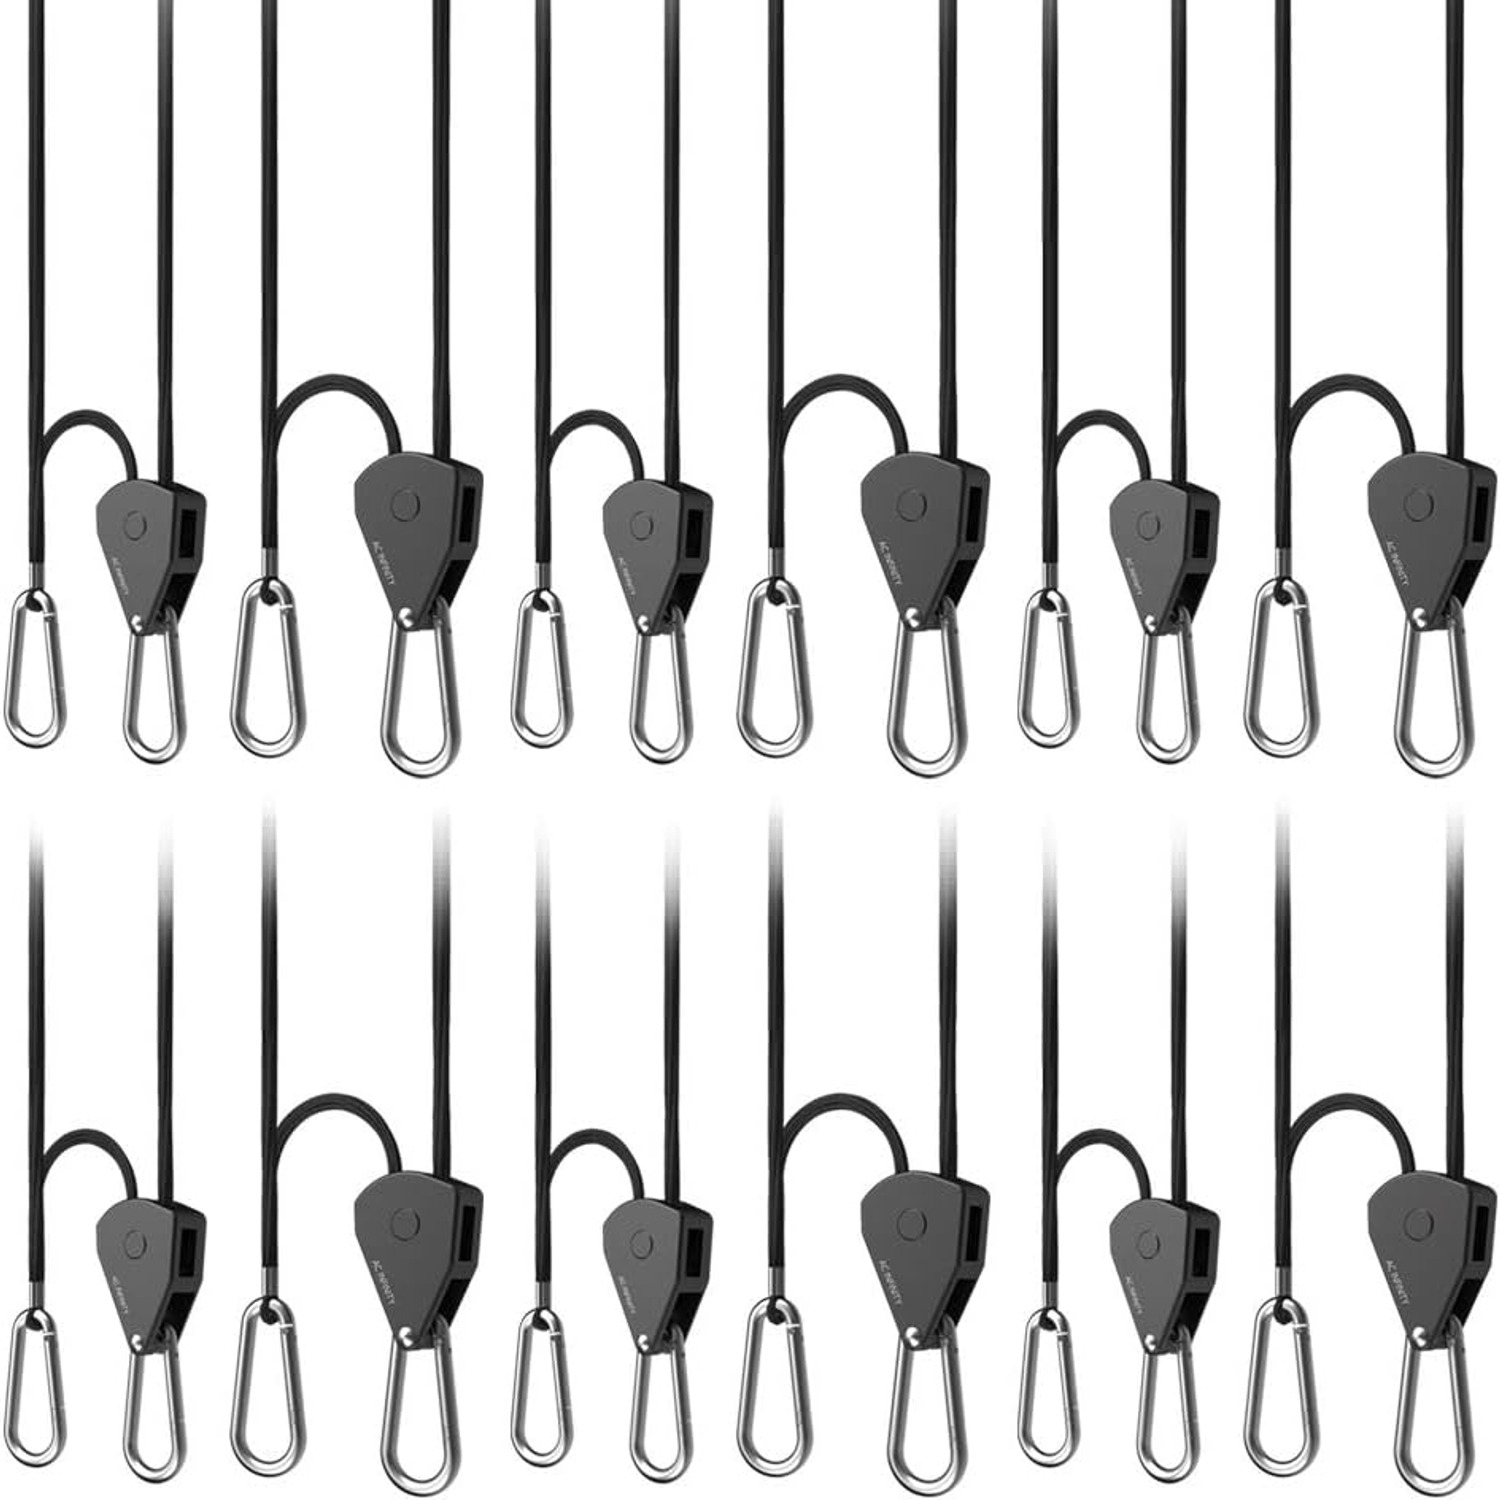
Twelve hangers, six pairs, 8 ft of braided polypropylene rope each, stainless steel ratchet gears and zinc-plated steel carabiners, rated 150 lb per pair. That is the whole product.
What you get for it is the ability to change the height of a light, a fan or a filter in about four seconds, as many times as you like, without untying a single knot. For a grower raising herbs and leafy greens that stretch upward every week, that is not a small convenience. It is the difference between adjusting your setup when it needs it and adjusting it when you finally get around to it.
Buy enough pairs to cover everything overhead, hang the heavy things first, share every load across two hangers, and give each one a tug before you walk away.